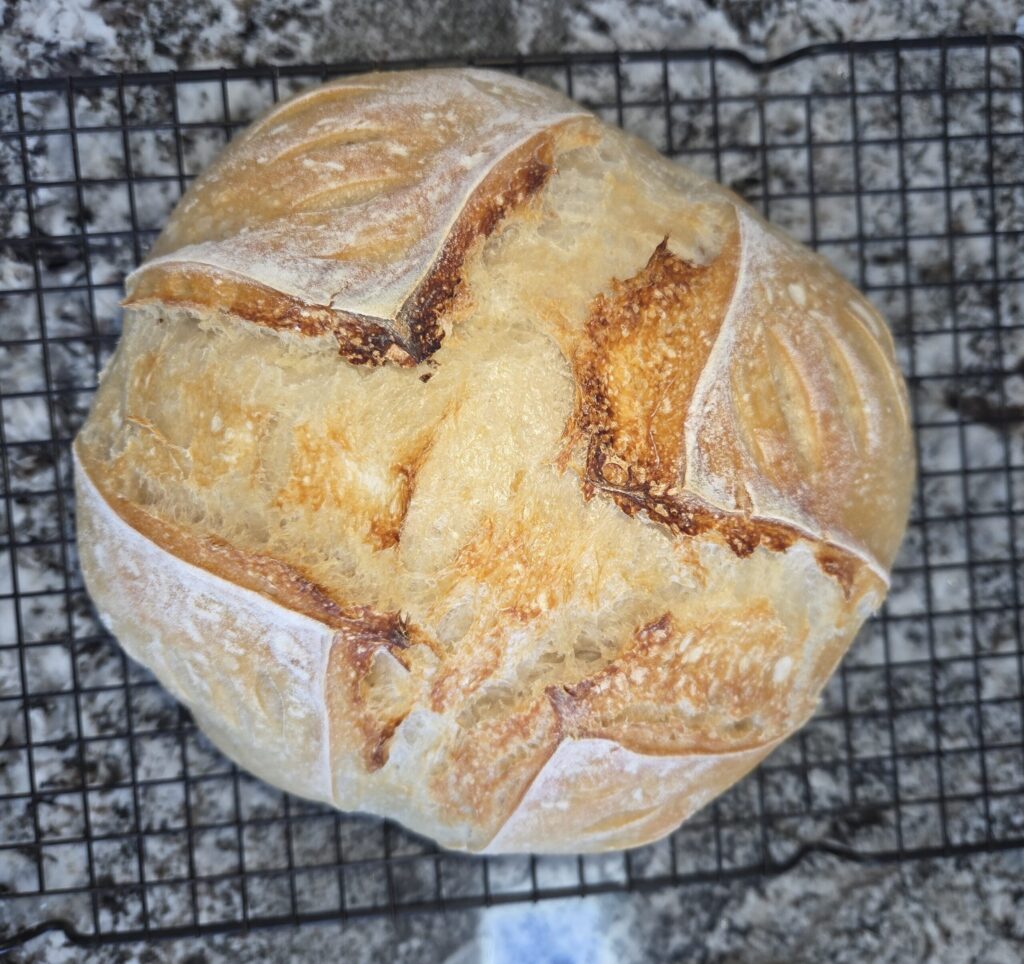
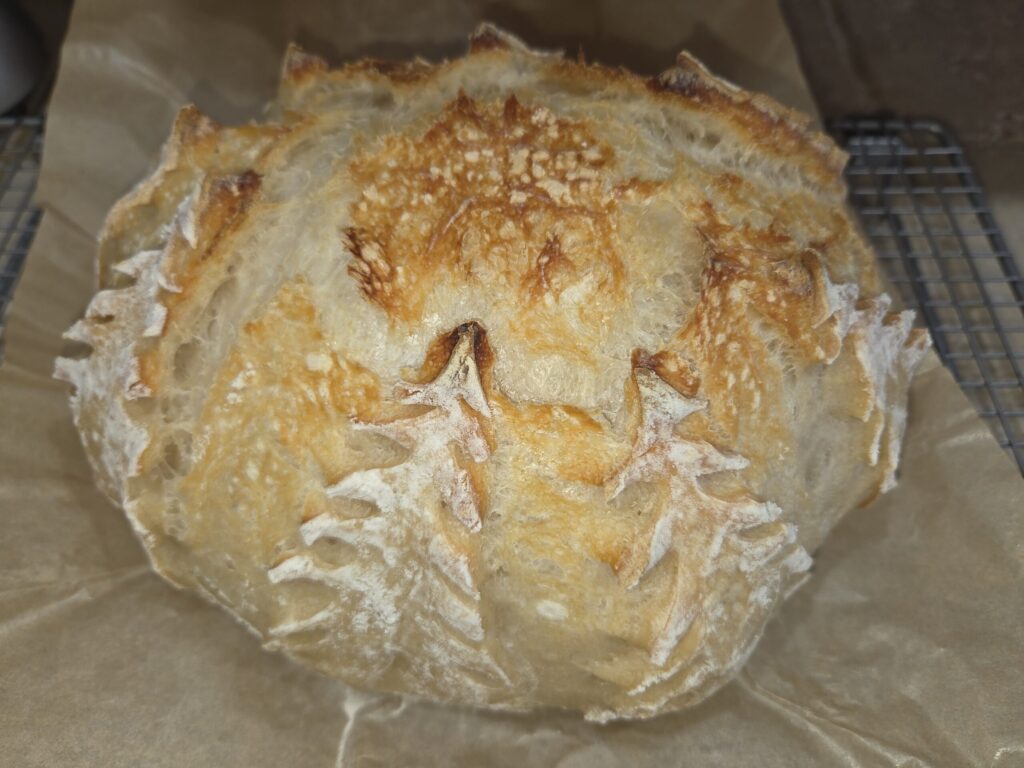
This is our family’s go to recipe for a delicious artisan sourdough bread. We created a starter with the help of Caputo Tipo 00 flour from Italy. We have never had a loaf fail. Be prepared to become a sourdough addict… bon appetit!
Notes
- Day #1-3 are for cooler temperature locations. If making a loaf in a warmer temperature home, you can sometimes complete Day #1 and #2 steps in the same day, starting 7am at the latest. If you are located in a cooler temperature, it’s important to stick with the 3 day process, or you won’t have enough time to get everything done properly.
- If you are new to making sourdough bread, here is a list that contains our favorite sourdough tools that make the process easy.
- Inclusions are fun to add to this recipe! We love adding jalapeño & grated Manchego cheese during the fold stage in Step 3. There are so many inclusions to experiment with (savory or sweet)!
- There appear to be a lot of steps, but you will find they are very easy once you follow the process a couple of times.
Day #1 “FEED THE STARTER”
This step is critical because you must use “active” sourdough starter for your bread loaf. Feeding your starter (giving it fresh water and flour) allows it to become active. This step replaces the need for commercial yeast in your bread recipe because active sourdough starter is a wild natural yeast. I recommend doing these steps before you go to bed so the sourdough is active in the morning when you are ready for Day #2:
- Tare the scale
- Move 100 grams sourdough starter to glass measuring cup (I use a spurtle to do this; much easier)
- Drop remaining sourdough in your discard jar, and put discard jar in the refrigerator
- Put 100 grams from glass measuring cup back into your sourdough jar
- Put sourdough jar with 100 grams on scale
- Tare
- Add 100 grams of good clean filtered water
- Tare
- Add 100 grams Italian flour (Caputo Tipo 00 – 10 pack or Caputo Tipo 00 – 4 pack)
- Stir with spurtle
- Cover jar, and leave on counter at night so it’s active in the morning
Day #2 “MAKE DOUGH”
STEP 1 – Make the Sourdough Loaf
- Make sure the sourdough has doubled and is bubbly when tilted (this means it’s “active”). Smell the starter to make sure it smells like sourdough
- Put large glass bowl on the scale
- Press tare
- Measure 125 grams of the active starter into the big bowl
- Press tare
- Add 350 grams room temperature good clean filtered water
- Whisk with Dutch whisk until it looks like milk
- Press tare
- Add 10 grams salt & whisk
- Press tare
- Add 525g Italian flour
- Mix with Dutch whisk until fully combined
- Use hands to fully mix if necessary
- Set on counter and cover with plastic wrap or shower cap and a towel on top
- Wait one hour
STEP 2 – Feed the Starter Jar
- Measure 100 grams of the starter into glass jar or measuring cup
- Put the rest in the discard jar
- Move 100 grams starter back into sourdough jar
- Press tear
- At 100 gram Italian flour
- Press tear at 100 grams water
- Mix with spurtle, cover, and wait until active. The sourdough is active when it’s at the top shoulder (or higher) of the jar… usually four to six hours maybe shorter in warmer temps
- Put in refrigerator when active so it’s ready to go for your next baking adventure. Note—we feed our starter every 13 days minimum as long as it is kept in the refrigerator.
STEP 3 – STRETCH & PULLS
- Wet hands a bit and pull dough up and fold over rest of dough in the bowl. Turn the bowl 90° and repeat 8 times (9 times total)
- Cover with shower cap or plastic wrap and a towel
- Set timer for 30 minutes
- Wet hands, then pull the dough up and fold over in the bowl. Turn bowl 90° and repeat 8 times
- Cover with shower cap or plastic wrap and a towel
- Set timer for 30 minutes
- Wet hands & repeat. Pull dough up and fold, turning 90°, and repeat 8 times
- Cover with shower cap or plastic wrap and towel
- Let sit on counter 8 to 12 hours (~5 hours in warmer temp)
- The dough should be bubbly and jiggly
- Sanitize, and then flour the surface of counter top. Spread the dough out flat on the counter in a rectangle shape
- Optional—if you are adding an inclusion to your loaf, this is our favorite time to do it
- Fold the ends lengthwise to meet in the middle like a hot dog bun folding top down and then bottom up
- Optional—if adding inclusions, add another layer here right down the middle
- Roll the dough up starting at one of the ends, creating tension by shaping into a tight ball with your hands and pushing forward, adding flour as needed
- Put rounded dough into banneton seam side up
- Cover with shower cap and let proof in the refrigerator minimum of 12 hours up to 24 hours
Day #3 “BAKE THE BREAD!!!”
- Preheat oven to 450° with the Dutch Oven inside
- Flop the refrigerated sourdough upside down onto lightly floured parchment paper (the dough facing the cloth should be facing up when flipped)
- Sprinkle flour on top of the dough, and smooth out with hand so it looks lightly dusted
- Score a big cross down the middle and across the side making an X (make them deep using the lame). Note—you can create so many beautiful designs with your lame… check online for the various options because this is so much fun to experiment with and there are hundreds of ways to do it.
- When the oven reaches 450° F, remove Dutch oven and the lid, then drop the bread dough into it (both the parchment paper and the dough)
- Cover with lid and place in oven
- Set timer for 30 minutes
- Remove lid from the Dutch oven; your kitchen will be smelling AMAZING right about now 😉
- Set timer for 15 minutes
- Remove from oven and put parchment paper (with bread) on cookie rack so it can cool slightly. Cooling is important because the bread can be sticky if it doesn’t cool properly before cutting (it is so hard to wait, but trust me this step is important)
- Enjoy!